The Series

Edit - I have changed the title of this blog series from AngularJS GUIs with PowerShell to just PowerShell GUI with HTML. I will make a second series though covering AngularJS, how and why you should use it for making PowerShell GUIs but I figured that it needed to be split out.
The Concept
I am going to cover in the next few blog posts a method I have developed for developing user interfaces for PowerShell scripts using HTML. This is not an HTA. This is all built from within PowerShell.
PowerShell does not have a built in method for rendering HTML live and collecting feedback. PowerShell does however have full access to .NET. Which turns out you can make a web server. Which means you can serve HTML from PowerShell and collect feedback from a web browser (See Obscure sec’s dirty PowerShell WebServer and the MSDN docs for HTTP Listener).
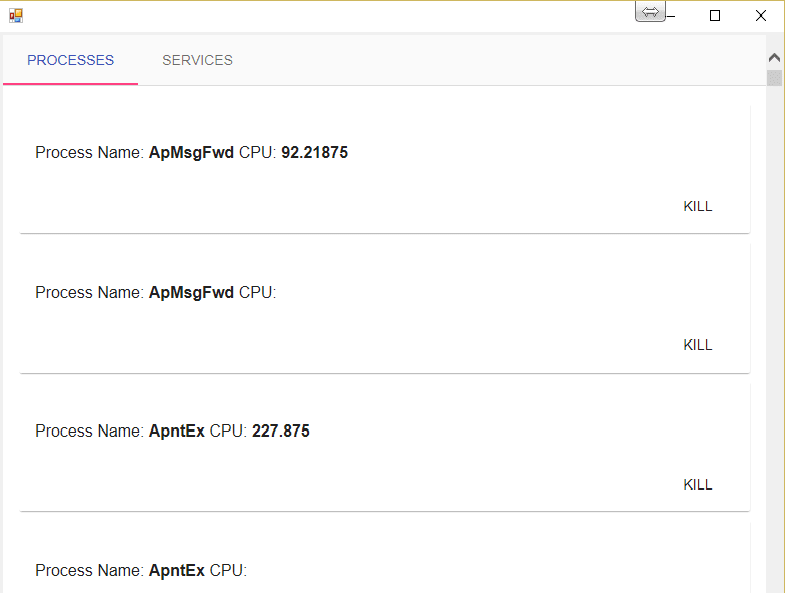
PowerShell can also host a web browser in a winforms object. This means PowerShell has the full capability to both serve webpages and control / force the experience of navigating to this webpage. We have the makings of a GUI system in the works!
If all this sounds complicated… PowerShell makes it SUPER easy. Fear not, we are going to cover in the next few posts some basics of the web and how to the web server works in PowerShell as that is the most complicated portion and for the last post we will make up some dynamic user interfaces that can be fed to from ConvertTo-HTML and ConvertTo-JSON in less than 40 lines of code.
The Reasoning
There are a few reasons you would want to build a user interface in HTML.
- It is simple
- There are a lot of tutorials
- There are a lot of style libraries
- There are a lot of javascript libraries linke AngularJS to help render your view dynamically
Other Options
Before I make the first post and start getting into the goodness it is important to know there are other more standardized / accepted methods for developing user interfaces. If this is your first user interface in PowerShell it is probably better to start with them just to familiarize yourself with what is available in PowerShell:
- FoxDeploy’s PowerShell GUI Toolmaking Series - Great series covering XAML and WPF GUI building in PowerShell
- Building Forms with PowerShell - Excellent series on developing PowerShell GUI with WinForms
- Using an HTA as a PowerShell GUI
The Basic One-Response Web Server
Step 1: Create HttpListener Object
$SimpleServer = New-Object Net.HttpListener
Step 2: Tell the HttpListener which port to listen on
As long as we use localhost we don’t need admin rights. To listen on externally accessible IP addresses we would need admin rights.
$SimpleServer.Prefixes.Add("http://localhost:8000/")
Step 3: Start up the server
$SimpleServer.Start()
Step 4: Tell the server to wait for a request to come in on that port.
$Context = $SimpleServer.GetContext()
Note your PowerShell session will hang at this point. It will wait until there is an HTTP request made on the port it is listening on to continue.
At this point, if you are following along go ahead and use your browser to visit http://localhost:8000. This should show on your browser as the webpage is loading (It’s waiting for PowerShell to process the response and send it back). You’ll notice your PowerShell session has continued and you should be able to type in the console more commands to process the request that is now contained in our $Context variable.
Once a request has been captured the details of the request and the template for the response are created in our $Context variable
$Context.Request - contains details about the request
$Context.Response - basically a template of what can be sent back to the browser
$Context.User - contains information about the user who sent the request. This is useful in situations where authentication is necessary. We won’t worry about authentication since we aren’t listening externally.
Step 5: Send a response to the browser
$result = "<html><body> Hello World! </body></html>"
In order to send it to the browser we need to convert it from ASCII encoded text into bytes.
$buffer = [System.Text.Encoding]::ASCII.GetBytes($result)
We need to let the browser know how many bytes we are going to be sending
$context.Response.ContentLength64 = $buffer.Length
We then send the response back to the browser
$context.Response.OutputStream.Write($buffer, 0, $buffer.Length)
We close the response to let the browser know we are done sending the response
$Context.Response.Close()
We stop our server
$SimpleServer.Stop()
There we have it! Our first server written in PowerShell serving web pages to a web browser. Stay tuned for the next blog post where we will cover how to handle various URLs in PowerShell, then we will talk about query strings, followed by constructing it in a way that looks like a more standard GUI using WinForms so we don’t have to ever direct end users to open a browser or even worry about HTML and then we’ll spend a few posts on minimizing the amount of code we need and avoiding nasty CSS by using AngularJS and Angular Material to build our UI.